Kubernetes Cluster with K3s in Homelab
There comes a time when we get tired of installing the Kubernetes cluster with Kind, especially because Kind wasn't made to be a permanent cluster. It's great for local testing, but it doesn't scale, doesn't update easily, and doesn't keep state between reinstallations. If you want to run a new version of Kubernetes, you have to destroy everything, reinstall, and restore backups—a huge headache.
When we want to keep multiple tools running, test integrations, or use GitOps for real, the ideal is to have a persistent cluster, where you can format the host if needed, but keep the cluster up or rebuild it quickly. That's where K3s comes in.

K3s is a lightweight and simplified Kubernetes distribution, created by Rancher, designed especially for edge environments, IoT, homelabs, and even production on smaller clusters. It stands out for being easy to install (a single binary), consuming fewer resources, and coming with several built-in optimizations, such as using containerd instead of Docker and including essential components like traefik and flannel (which can be disabled if you prefer to customize). Another great advantage is that K3s reduces the complexity of traditional Kubernetes setup, without losing compatibility with APIs and ecosystem tools. Ideal for those who want agility without giving up robustness.
Why did I choose K3s?
- It's lightweight and optimized for small environments, ideal for homelab or even edge production.
- It already comes with batteries included: containerd, flannel, traefik (optional), servicelb, metrics-server, and even kubectl.
- Ridiculously simple installation: one script solves everything, including adding workers.
- Automatic updates (optional, but available).
Less memory consumption: ideal for VMs with 2~4 GB of RAM.
Which operating system on the Host?
I chose Ubuntu Server and not other options like Arch, Fedora CoreOS, or Bottlerocket for some very practical reasons:
🟢 Ubuntu Server:
- Clear documentation and easy to find solutions (Stack Overflow saves).
- Compatible with practically everything in the Linux ecosystem.
- Simple update with apt—no surprises.
- Huge community: for any error, someone has already suffered for you.
- The minimal version is light enough for K3s, without losing practicality.
🔴 Bottlerocket?
- Too closed. No apt, no shell, no patience.
- Hard to debug, requires a "GitOps or nothing" mentality.
- Great on EKS, but hell in homelab or VM.
🟠 Arch?
- For those who like to live on the edge.
- Total control, but constant maintenance and risk of breaking things.
- Doesn't match environments that require stability.
🟡 Fedora CoreOS?
- Immutable architecture, focused on GitOps and security.
- Great for production with well-defined CI/CD.
- But for homelab? It's like skating uphill—functional, but laborious.
Installation and Infrastructure
I created two VMs on my Unraid Server (My server for HomeLab) both using Ubuntu 24.04 LTS with only openssh-server installed during setup and without LVM group.
| Machine | Function | CPU | RAM | Disk | IP | User | Linux |
|---|---|---|---|---|---|---|---|
| master-1 | Control-plane | 2 vCPU | 3GB | 30 GB | 10.0.0.11 | ubuntu | Ubuntu Server 24.04 LTS |
| worker-1 | Worker node | 2 vCPU | 4GB | 60 GB | 10.0.0.12 | ubuntu | Ubuntu Server 24.04 LTS |

💡 Tip: fix the IPs in your router's DHCP to avoid headaches later. Use an IP from your network range. Since I use a 10.0.0.0/24 network, I'll use IPs between 10.0.0.11 and 10.0.0.15 to build the complete cluster in the future.

SSH Access
Copy your public SSH key to the machines to facilitate access:
ssh-copy-id [email protected]
ssh-copy-id [email protected]
Preparing the Machines
On both machines we'll update the packages, the operating system, and install some useful tools. To access the machines use ssh [email protected].
sudo apt update && sudo apt upgrade -y
sudo apt dist-upgrade -y
sudo apt-get dist-upgrade
# Iptables is necessary
sudo apt install -y curl vim net-tools bash-completion dnsutils lsof iptables iptables-persistent ebtables arptables

# Adding modules to load at boot
echo ip_tables | sudo tee -a /etc/modules-load.d/k3s.conf
echo nf_conntrack | sudo tee -a /etc/modules-load.d/k3s.conf
# Forcing modules
sudo modprobe ip_tables
sudo modprobe nf_conntrack

sudo update-alternatives --set iptables /usr/sbin/iptables-legacy
sudo update-alternatives --set ip6tables /usr/sbin/ip6tables-legacy
sudo update-alternatives --set ebtables /usr/sbin/ebtables-legacy
sudo update-alternatives --set arptables /usr/sbin/arptables-legacy
All this iptables stack is necessary for calico, the CNI we'll use.
Why use iptables with Calico in our Kubernetes cluster instead of nftables or eBPF which are much more modern?
Because we don't need these newer technologies. Our cluster is simple, aimed at study and homelab, where stability and compatibility are priority. Iptables is mature, widely supported, and works perfectly without complication. So, for this scenario, it's the best cost-benefit. We wouldn't gain enough performance to make it worth the effort.
Additionally, we install arptables and ebtables because they complement iptables to control traffic on specific network layers:
arptables handles ARP packet filtering (layer 2, MAC address), essential for local networks.
ebtables manipulates Ethernet traffic, important for more granular policies on bridges and virtual interfaces used in the cluster.
These tools together ensure that Calico has complete traffic control, from layer 2 to 4, maintaining security and isolation without needing more complex solutions.
Installing K3s on the Master (without CNI)
K3s comes with Flannel as CNI by default, but I prefer Calico. Flannel is simple, but limits some things like network policies. Calico gives more control, allows security between pods, and can even use eBPF. So let's install K3s disabling the default CNI:
ubuntu@master-1:~$ curl -sfL https://get.k3s.io | INSTALL_K3S_EXEC="--flannel-backend=none" sh -
Now, we apply the Calico manifest (without using the Operator, since we won't scale this enough to justify it).
ubuntu@master-1:~$ sudo kubectl apply -f https://docs.projectcalico.org/manifests/calico.yaml
Preparing external access to the cluster
On master-1:
ubuntu@master-1:~$ sudo cp /etc/rancher/k3s/k3s.yaml /home/ubuntu/k3s.yaml
ubuntu@master-1:~$ sudo chown ubuntu:ubuntu /home/ubuntu/k3s.yaml
# This step is just to advance access to the token we'll need later.
ubuntu@master-1:~$ sudo cat /var/lib/rancher/k3s/server/node-token > ~/token
ubuntu@master-1:~$ cat token
K108xxxxxxxxxxxxxxxxxxxxxxxxxxxxxxxxxxxxxxxxxxxxxxx::server:xxxxxxxxxxxxxxxxxxxxxxxxxxxxx
# Just checking
ubuntu@master-1:~$ sudo kubectl get nodes
NAME       STATUS   ROLES                  AGE   VERSION
master-1   Ready    control-plane,master   69m   v1.32.5+k3s1
On your personal machine copy the master config to ~/.kube/config. Remember that we must have kubectl to access this cluster.
# Creating the directory if it doesn't exist
❯ mkdir -p ~/.kube
# Copying the config
❯ scp [email protected]:/home/ubuntu/k3s.yaml ~/.kube/config
# The config comes with ip 127.0.0.1 which is local cluster access, we need to change it to point to the master.
❯ sed -i 's/127.0.0.1/10.0.0.11/' ~/.kube/config

❯ kubectl get nodes
NAME       STATUS   ROLES                  AGE   VERSION
master-1   Ready    control-plane,master   72m   v1.32.5+k3s1
Adding the Worker
Done, we already have a cluster, but only with the master. This process to add a worker works for as many workers as you want to add.
On worker-1, to access ssh [email protected].
ubuntu@worker-1:~$ curl -sfL https://get.k3s.io | \
  K3S_URL=https://10.0.0.11:6443 \
  K3S_TOKEN="K108xxxxxxxxxxxxxxxxx::server:xxxxxxxxxxxxxxxxx" \
  sh -
❯ kubectl get nodes
NAME       STATUS   ROLES                  AGE   VERSION
master-1   Ready    control-plane,master   74m   v1.32.5+k3s1
worker-1   Ready    <none>                 67m   v1.32.5+k3s1
Adjusting
What do we have in the cluster?
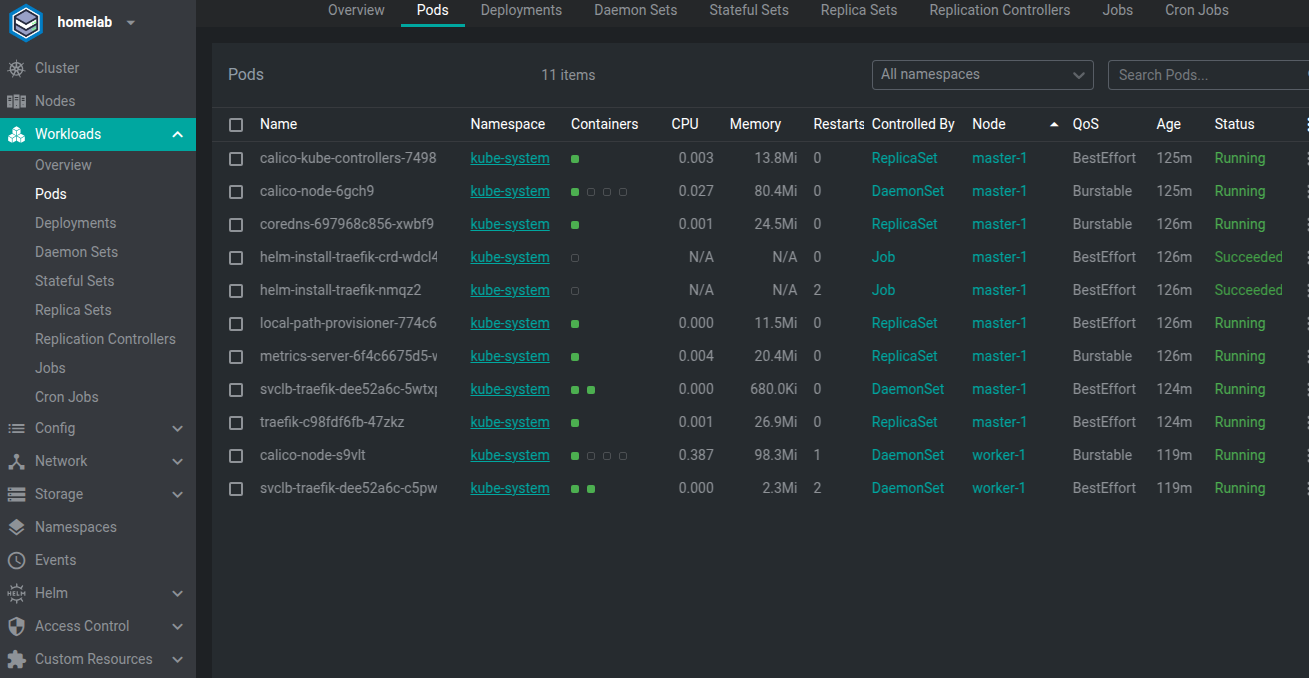
- Traefik
- Metric Server
- Calico
We have a specific situation that doesn't please me. Traefik (responsible for ingress) running on the master too. This happens because K3s can run with only one master node without any worker.
I need to isolate the master. I don't like the idea of traefik on the master.
# Let's put a taint on it
❯ kubectl taint nodes master-1 node-role.kubernetes.io/master=:NoSchedule

# When restarting the traefik deploy we ensure it won't run inside the master.
kubectl rollout restart deployment -n kube-system traefik

# Edit the daemonset removing the entire toleration block
kubectl edit daemonsets -n kube-system svclb-traefik-dee52a6c

    #   tolerations:
    #     - effect: NoSchedule
    #       key: node-role.kubernetes.io/master
    #       operator: Exists
    #     - effect: NoSchedule
    #       key: node-role.kubernetes.io/control-plane
    #       operator: Exists
    #     - key: CriticalAddonsOnly
    #       operator: Exists
Calico needs to run on the master and the metric server is a critical service so we'll leave it on the master without problems.
Updating K3s
And to update? When we installed, version 1.32 was used, but we already have 1.33. Just check on the K3s release page.
It's important this time not to install Traefik. Even if you reinstall with --disable traefik, Traefik stays there, because it's already in the cluster, but if you don't prevent installation it will reinstall and we'll have to remove the tolerations again.
On the master:
ubuntu@master-1:~$ sudo systemctl stop k3s
ubuntu@master-1:~$ curl -sfL https://get.k3s.io | INSTALL_K3S_VERSION="v1.33.1+k3s1" INSTALL_K3S_EXEC="--disable traefik" sh -
ubuntu@master-1:~$ sudo systemctl start k3s
On each worker:
ubuntu@worker-1:~$ sudo systemctl stop k3s-agent
ubuntu@worker-1:~$ curl -sfL https://get.k3s.io | INSTALL_K3S_VERSION="v1.33.1+k3s1" K3S_URL="https://10.0.0.11:6443" K3S_TOKEN="K108xxxxxxxxxxxxxxxxx::server:xxxxxxxxxxxxxxxxx" sh -
And everything updated.
❯ kubectl get nodes
NAME       STATUS   ROLES                  AGE     VERSION
master-1   Ready    control-plane,master   5h29m   v1.33.1+k3s1
worker-1   Ready    <none>                 5h22m   v1.33.1+k3s1
Final Considerations
Even running everything on the same hardware (Unraid), I want to expand the cluster with two more nodes to test failover scenarios, fault tolerance, and distributed deploys. It's not "production" infrastructure, but rather a laboratory to learn how to keep the car running while we change the wheels.
In k3s it's a bit different from "pure" Kubernetes because k3s is all packaged in a single binary—including kube-apiserver, controller-manager, scheduler, etcd.
To modify kube-apiserver in k3s, the options are somewhat limited, but we can pass custom flags via INSTALL_K3S_EXEC or in the k3s configuration file that we can create at /etc/rancher/k3s/config.yaml. This file is read to complete INSTALL_K3S_EXEC.
You can also edit the file /etc/systemd/system/k3s.service (on the master) to pass extra flags to k3s. For example, to pass flags to kube-apiserver, use the --kube-apiserver-arg flag, like:
##--kube-apiserver-arg=<flag>=<value>
--kube-apiserver-arg=authorization-mode=RBAC,Node
Creating a configuration file for example at we would have
# Disable Traefik
disable:
  - traefik

# Pass arguments to kube-apiserver to improve security
kube-apiserver-arg:
  - "anonymous-auth=false"       # Disable anonymous access
  - "authorization-mode=RBAC"    # Use RBAC for authorization
  - "enable-admission-plugins=NodeRestriction,NamespaceLifecycle,LimitRanger,ServiceAccount,DefaultStorageClass,ResourceQuota"
  - "secure-port=6443"           # Secure port (default)
  - "tls-cert-file=/etc/rancher/k3s/ssl/k3s-server.crt"
  - "tls-private-key-file=/etc/rancher/k3s/ssl/k3s-server.key"
To modify kube-apiserver in k3s, the standard way is to pass custom flags via kube-apiserver-arg in the k3s config file or in the system command line. Then restart the service.
Having a configuration file, we'll follow updates with a simpler command.