Home Lab
As we navigate the digital era, our thirst for knowledge and technological skills continues to grow exponentially. Often, there's a disconnect between what we learn theoretically and what we practice. For this reason, many of us aspire to bring the concepts and tools we explore in professional and academic settings into our personal spaces. After all, if we're not challenged with certain opportunities in the work environment, why not create this demand in the comfort of our homes?
Implementing your own server at home may sound like an expensive and technical undertaking, but the reality can be much more accessible. The resource requirements are relatively low since we are our own users, and the access demand isn't as intense as in a commercial environment. Despite this, the flexibility of hosting our own services and running virtual machines is extremely valuable. It's an opportunity to put what we learn into practice in a controlled environment, with the freedom to experiment and grow - a private laboratory tailored for innovation and continuous learning.
There's a unique charm in bringing a practical technology project to life. The experience of running services and applications in a real way, accessible outside the local environment, is incomparable. By setting up your own server, you'll move from theory to practice, testing your skills and applying them in a concrete and tangible way. This not only adds authenticity to your learning but also provides a realistic perspective of what it means to manage and maintain a service running 24/7.
What About the Cost?
Starting a server at home doesn't need to be a prohibitive expense; in fact, it's a journey that can begin with what you already have. That older machine, dusty and forgotten in some corner, can transform into the gateway to your server environment. Transforming a PC or laptop that has already fulfilled its main life cycle into a home server is a classic demonstration of intelligent and sustainable reuse.
Before we dive into server assembly specifications, let's demystify the costs associated with this project:
-
Energy cost: An important consideration is the balance between energy efficiency and performance. Low-consumption processors, such as models with reduced TDP (Thermal Design Power), are vital for keeping the electricity bill low. Although an alternative like the Raspberry Pi might seem like an energy-saving solution, the proposition here goes beyond that, seeking a compromise between low operational cost and future expansion capacity. After all, once we enjoy the advantages of a server, we'll always find new uses and services to deploy.
-
Domain: Having a server running locally without remote access isn't much fun. This is an annual cost that should be taken into consideration. It doesn't need to be a .com domain. Several sites offer domains for $1. For example, a .xyz domain at the time of writing costs $0.99. They want you to sign up the first time to win you over and then increase the price. Notice that renewal the following year can be significantly higher. I recommend starting with a cheap domain, and if your server endeavor succeeds, move to a more established domain of your choice that has stable pricing.
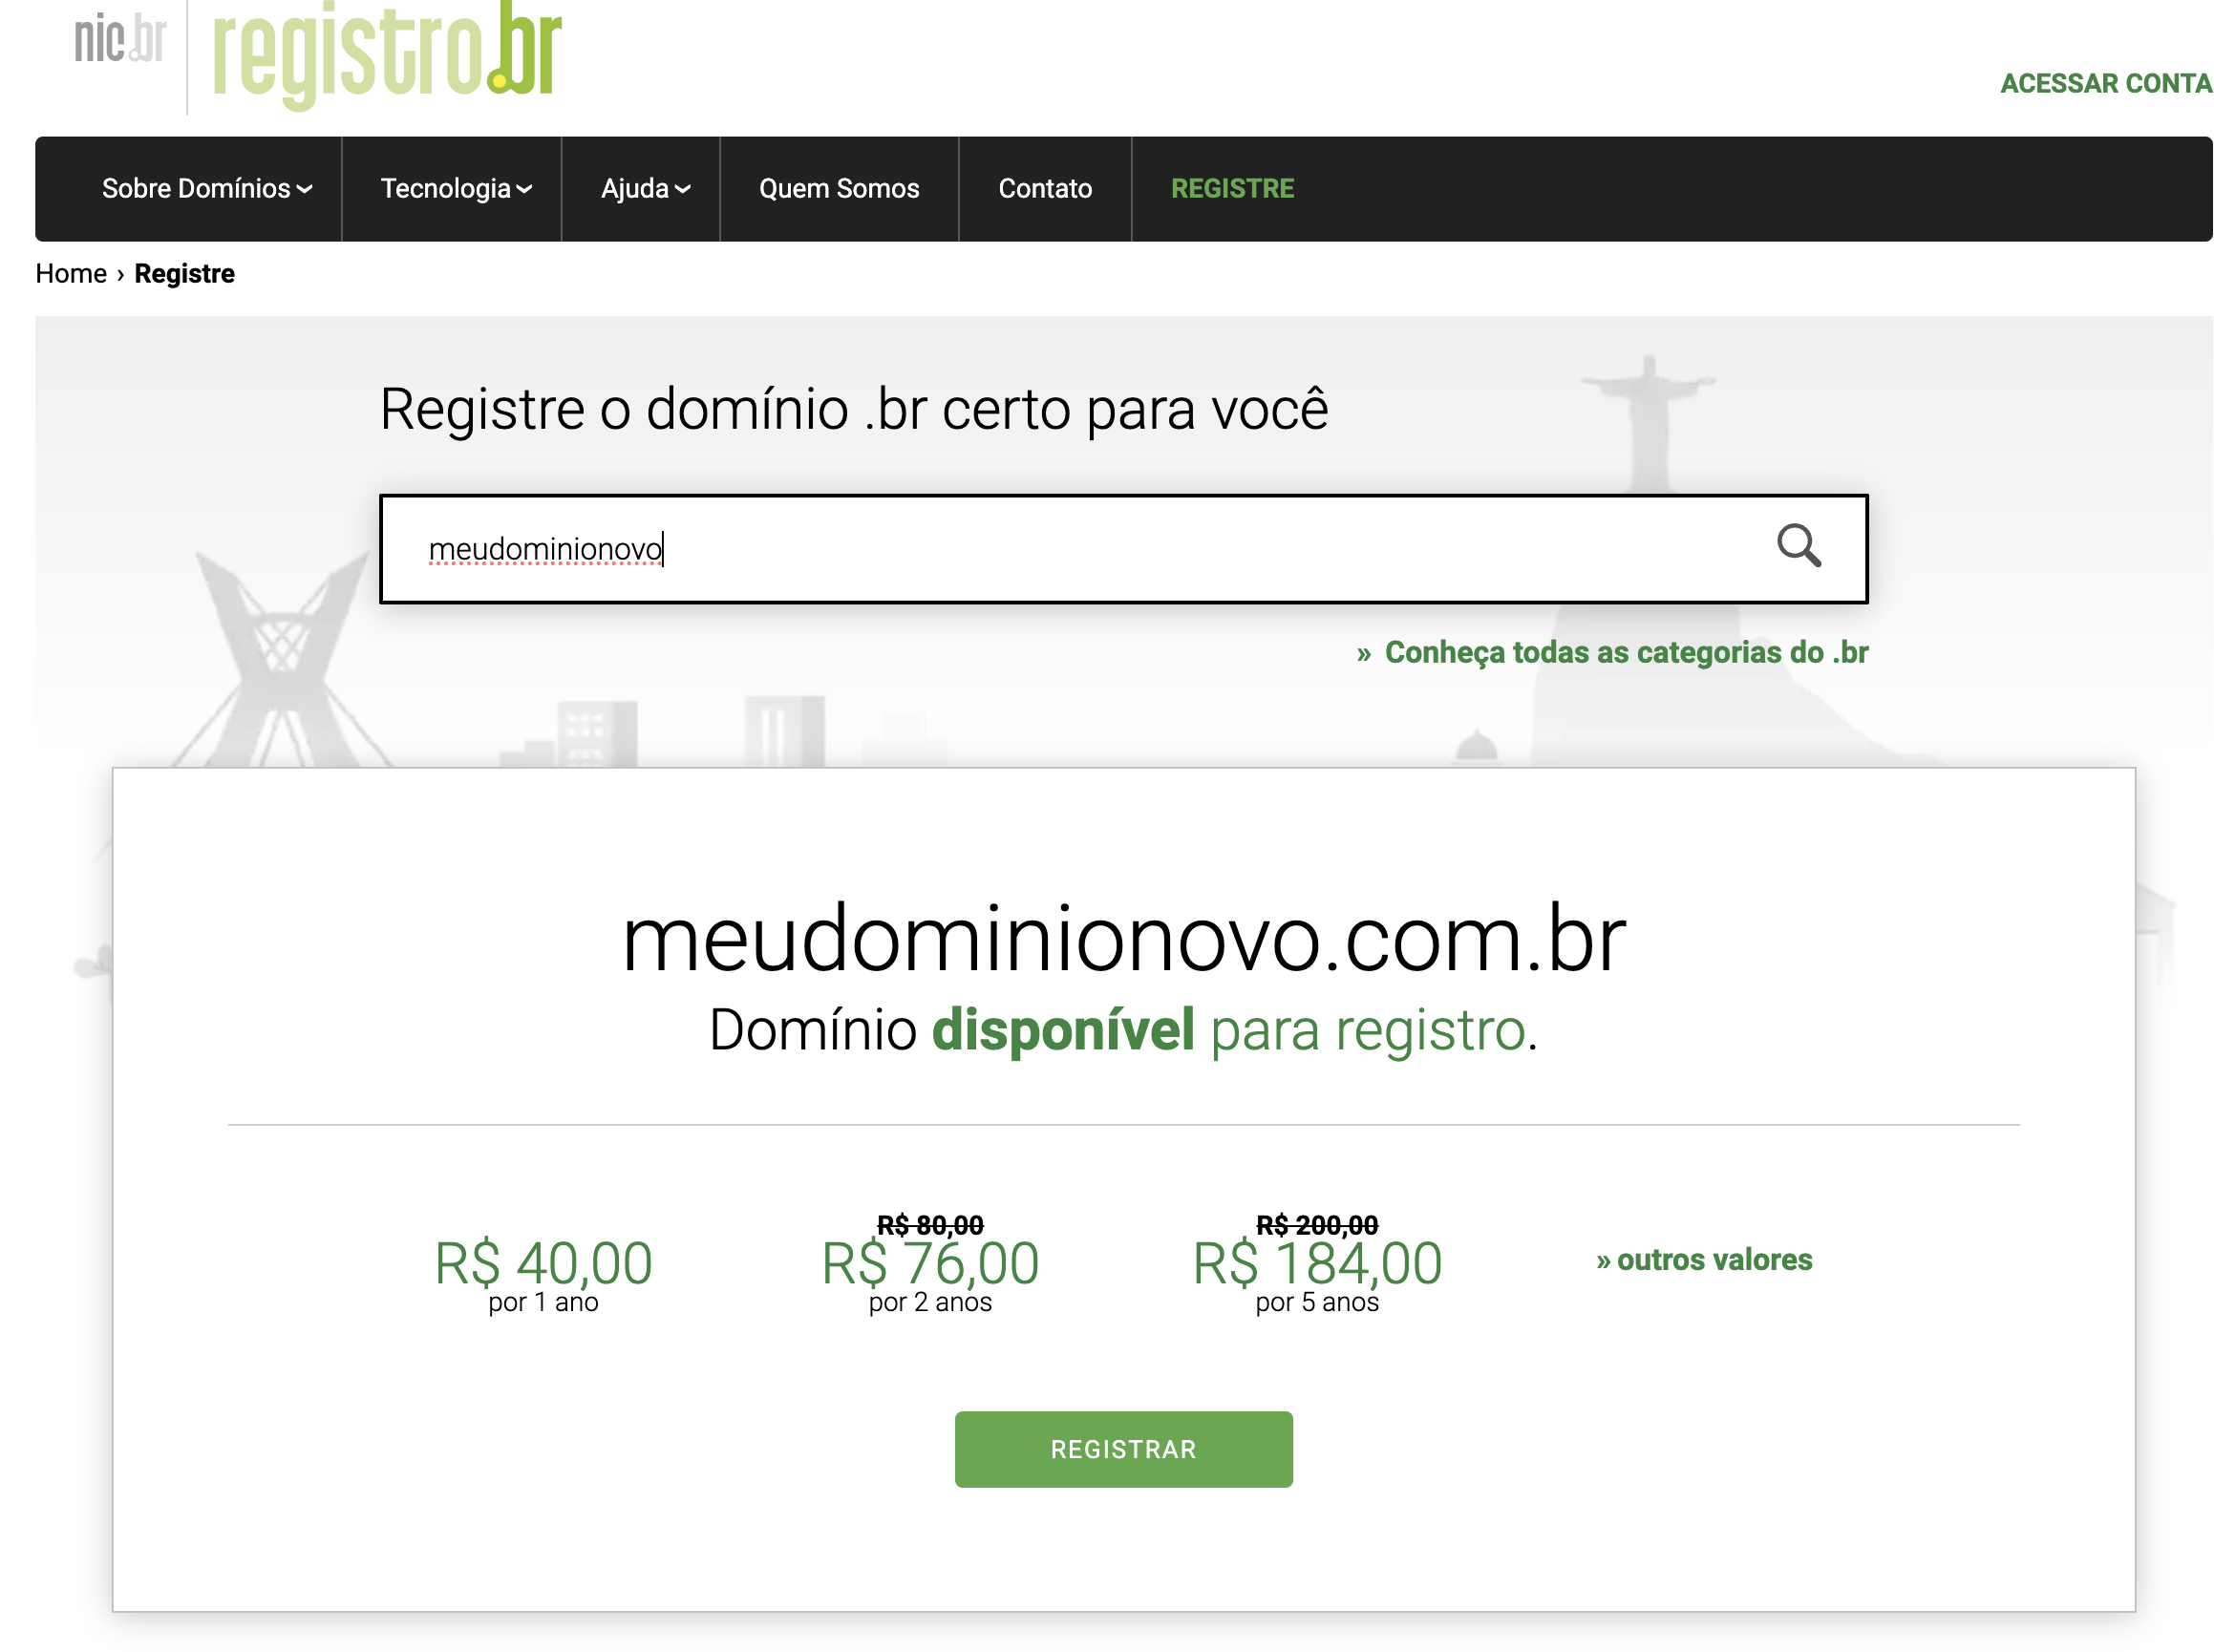
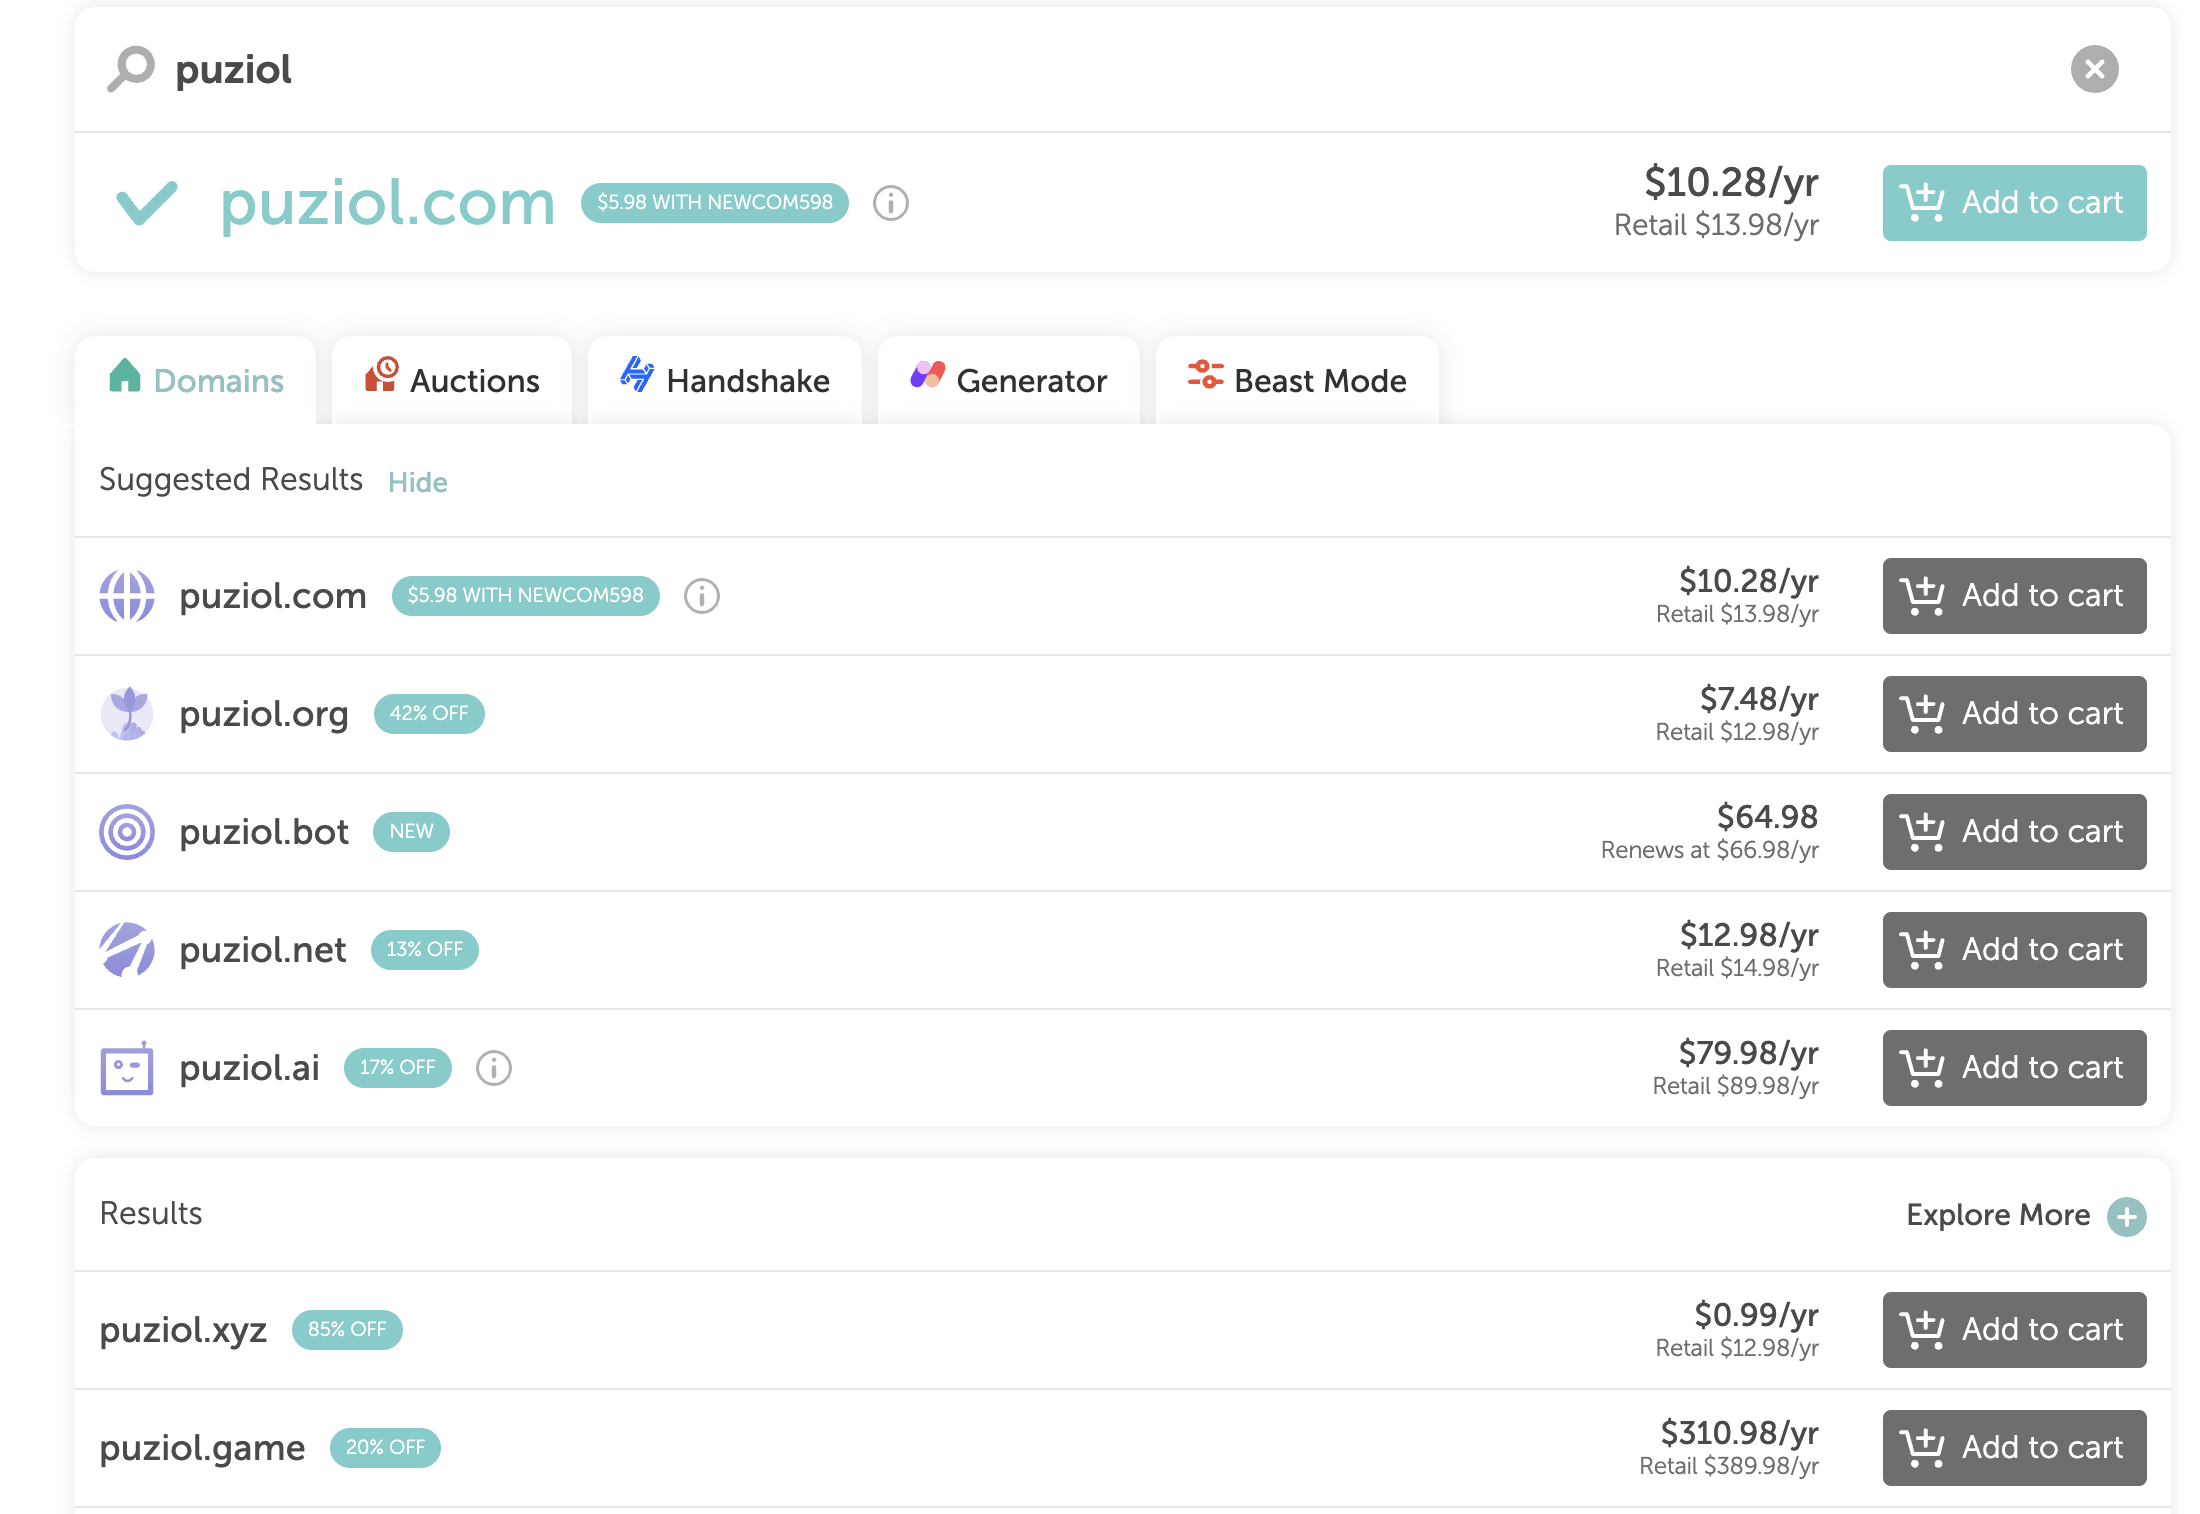 Various domain registrars offer competitive pricing with transparent renewal costs.
-
Fixed IP: For a home server, the need for a fixed IP can be easily circumvented with the use of DDNS (Dynamic Domain Name System) services, which are efficient at updating your dynamic IP address. Additionally, it's recommended to opt for Cloudflare as your DNS provider, which besides being free, offers benefits in performance and security for your domain.
Building a Server
Speaking a bit about hardware, know that nothing special is necessary. As mentioned earlier, it's possible to do it with any dusty machine, but if you need to buy a new machine, take the items below into consideration.
-
Processor: Look for a processor that offers low energy consumption while still providing a satisfactory number of cores. For a good period, I used an Intel Core i3 6100T, which has a TDP (Thermal Design Power) of 35W. Despite being efficient, it had only 2 cores and 4 threads. Currently, I migrated to an Intel Xeon E3-1260L V5, which offers 4 cores and 8 threads, adapting to my growing processing needs while maintaining a relatively low TDP of 45W. I was able to perform this upgrade conveniently, as the new processor was compatible with my existing motherboard. An upgrade to an even more advanced model would require replacing the motherboard as well, which would make the process impractical. Even considering that the E3-1260L V5 is a processor launched in 2015, it's still a relevant option for home lab use. Acquiring more current equipment can be expensive, and there's a possibility that its full potential won't be fully utilized in daily use. Additionally, CPUs with low TDP have the advantage of generating less heat. For those considering acquiring a new processor, I recommend looking at the "T" series of Intel Core i7, which have integrated GPUs. The i7 8700T, for example, would be an excellent choice, combining energy efficiency with robust performance without being excessively outdated.
-
Motherboard: The motherboard will accompany the processor of your choice. It's not necessary to look for something sophisticated, but I suggest a Mini-ITX motherboard, which fits a compact case and saves space in your house. Make sure it has onboard video and, ideally, at least four SATA ports - this is crucial if you intend to configure a file server later.
-
Graphics card: Not necessary. It would increase power consumption and require a more powerful power supply. In specific cases like AI workloads, it would be welcome, but consider this after you're already experienced.
-
Memory: Opt for the highest RAM capacity possible, but know that you can expand it as needed. ITX motherboards, mentioned earlier, generally offer two memory slots. If you choose this format, start with a single 16GB module instead of two 8GB modules to ensure the possibility of future expansion.
-
Power supply: If there's no graphics card, then a good quality 400W power supply is sufficient.
-
Disks: The choice of hard drives is crucial, as it directly reflects the purpose and efficiency of your server. Many Home Lab users transform their servers into powerful file servers - a kind of personal Google Drive - and this is often the most expensive part of the setup. Opt for HDDs designed specifically for use in NAS systems, such as WD Red or Seagate IronWolf models, which are built to operate continuously and reliably in network environments. Having at least two of these HDDs to set up RAID is fundamental, ensuring redundancy and protection against disk failures. Although not mandatory, including an SSD dedicated to cache can significantly benefit performance. With the high speed of an SSD acting as a temporary transfer area, you relieve the load on the main HDDs, sparing them for operations that require constant data access. Thus, the larger HDDs can stay in standby most of the time, which conserves energy and extends their lifespan. This SSD can periodically offload data to the mechanical HDDs, optimizing your server's workflow.
-
Case: There are compact cases on the market that accommodate up to four HDDs. It's not necessary to prioritize features like Hot Swappable - quick HDD swapping without turning off the system - since you probably won't be constantly removing or inserting new disks. For example, I use the Bitfenix Phenom Mini ITX, which well illustrates the effectiveness of a simple and functional solution for assembling a home server.

-
UPS: Initially, a UPS may seem like a luxury item for your home server. In fact, I only acquired one after four years of using my own server. The need for a UPS varies according to the quality of electrical power supply in your region. To start, a good quality power strip can offer sufficient protection against surges and minor power variations.
Doing a quick price search, here's an approximate cost breakdown (prices may vary by region):
- 400W Power Supply - $60 (I recommend buying new)
- 16GB Memory - $70
- i7 8700T Processor with stock cooler - $140
- Motherboard - $70
- Case - $50 (You can save here)
- 1 500GB SSD for cache - $55
- 2 NAS HDDs - $240
- 2 Fans for ventilation - $15
If you choose to acquire each component separately and new, the total cost can reach approximately $700, but if you buy a motherboard, processor, and memory kit together and grab some used parts, the cost can drop drastically.
If you remove the NAS HDDs and use only one you already have to avoid spending everything at once, the value of a new machine will reach around $400.
Another option is those mini computers like a Mac Mini that can be found affordably from various manufacturers. They're very practical and affordable. If you're not going to build a file server, it can be a great option.
Anything is good, just have something!
Operating System
To enhance our machine and transform it into an efficient server, we need to install an operating system that functions as a Type 1, or "bare-metal" hypervisor.
A great example in this category is Proxmox. This Linux-based system is designed specifically to be installed directly on server hardware and act as a virtualization platform. With Proxmox VE, we can manage both virtual machines and containers, optimizing resources and offering high availability with the convenience of an intuitive web interface.
Proxmox doesn't have built-in containerization with Docker, only LXC (Linux Containers). To work with Docker, you need to create a virtual machine, install Docker, and Portainer to have a graphical interface for working with containers.
Another alternative is Unraid, which solves all these problems. I use it and like it a lot, but it adds an extra cost to the project. Unlike Proxmox, Unraid already includes in the system core the ability to work with containers, even allowing you to search for them in a community app store, pre-configured. The license is lifetime, with the cheapest being $49. I think before deciding whether you'll use Proxmox or Unraid, take a no-commitment tour of both. I've been using it for six years, gone through several updates, and never had problems - nothing like having peace of mind.
In Proxmox, you'll need to manage the operating system of virtualized machines and Proxmox itself. In Unraid, they update everything, and you only manage the VMs you use - if you use them, because most services today are run in containers.
Unraid is more like competing with Synology's DSM system. It gives you a graphical interface and facilitates the installation of many services. The difference is that DSM only comes installed on Synology devices, which are expensive. Is it possible to install on different hardware? Yes, it's possible, but is it right? No, and we also don't have support.
Some Service Suggestions
Just to give you an overview of what's cool to install first:
- AdGuard to block sites, parental control, ad blocking, and much more.
- WordPress to create your website.
- Jellyfin as a media server organizer. Watch everything on your TV! Plex or Kodi also do the same thing.
- Bitwarden - be the owner of your own password server. Enough of storing passwords in someone else's cloud!
- qBittorrent - Put torrents to download directly on the server instead of leaving your machine on.
- Prometheus and Grafana to monitor your server.
- Home Assistant to integrate all your home automations.
- Frigate for camera recording. We no longer need NVR, DVR, etc.
- Immich - store your phone photos directly on your server. Why use Google Photos or iCloud?
- Nextcloud - create your own Google Drive.
- Ollama - deploy your own AI, but then it's good to have a graphics card!
- WireGuard - have your own VPN.
- Nginx - web server and reverse proxy.
- GitLab - why not have your own repository?
- Lyrion Music Server - if you don't want to pay for Spotify, there's a solution.
- Kubernetes in a VM for learning.
What you use on the Internet probably has a similar service that you don't need to pay for and can run on your own infrastructure.
I hope you can really invest in your own server one day!