Hello World
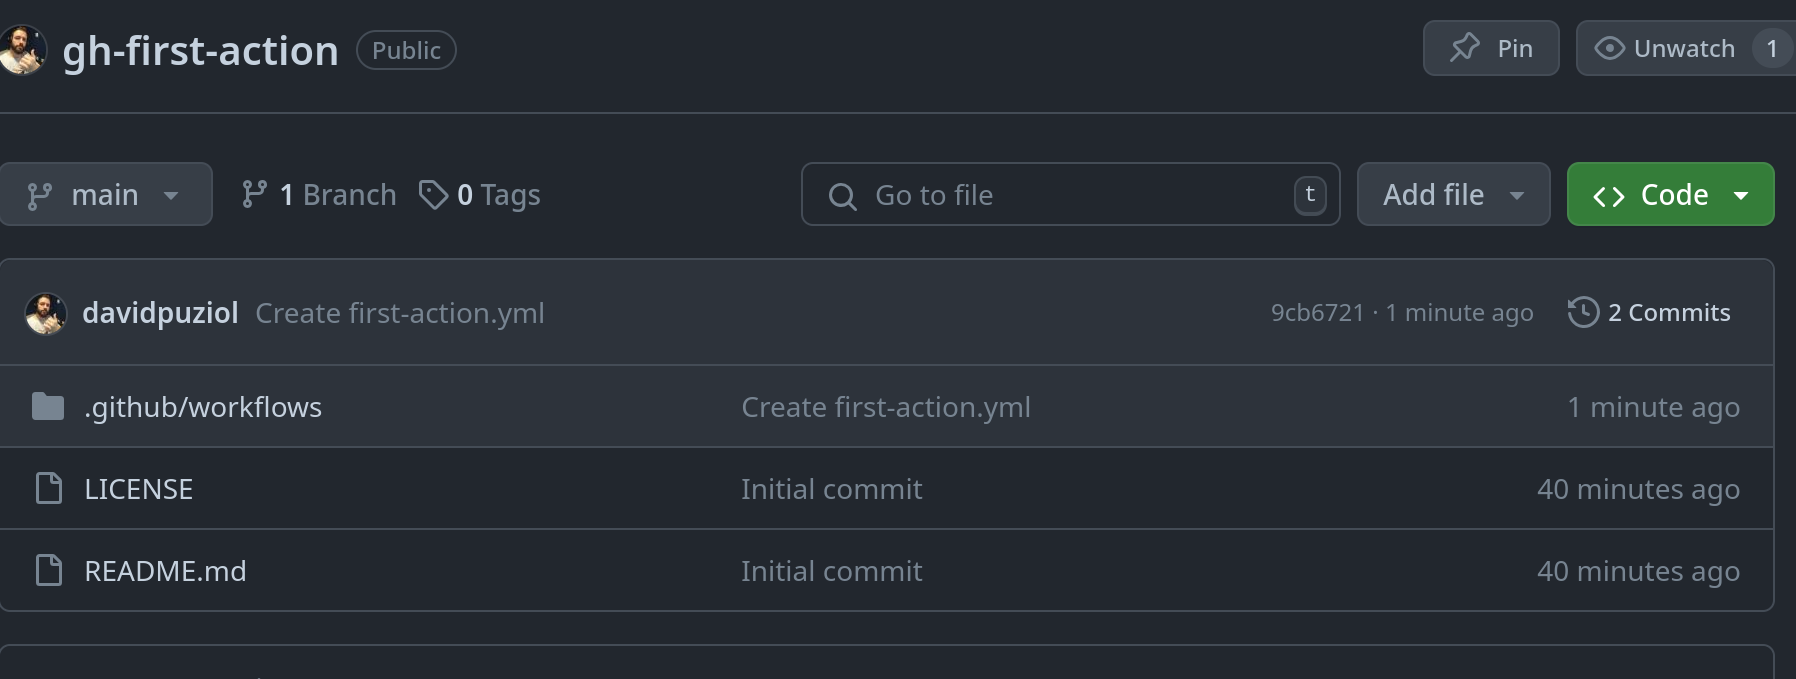
To get started, create any repository in your account. For demonstration, I created https://github.com/davidpuziol/gh-first-action. Keep the repository public for study and to avoid limitations. To have a first file, initialize with README.md and a license.
Let's go straight to the Actions tab.
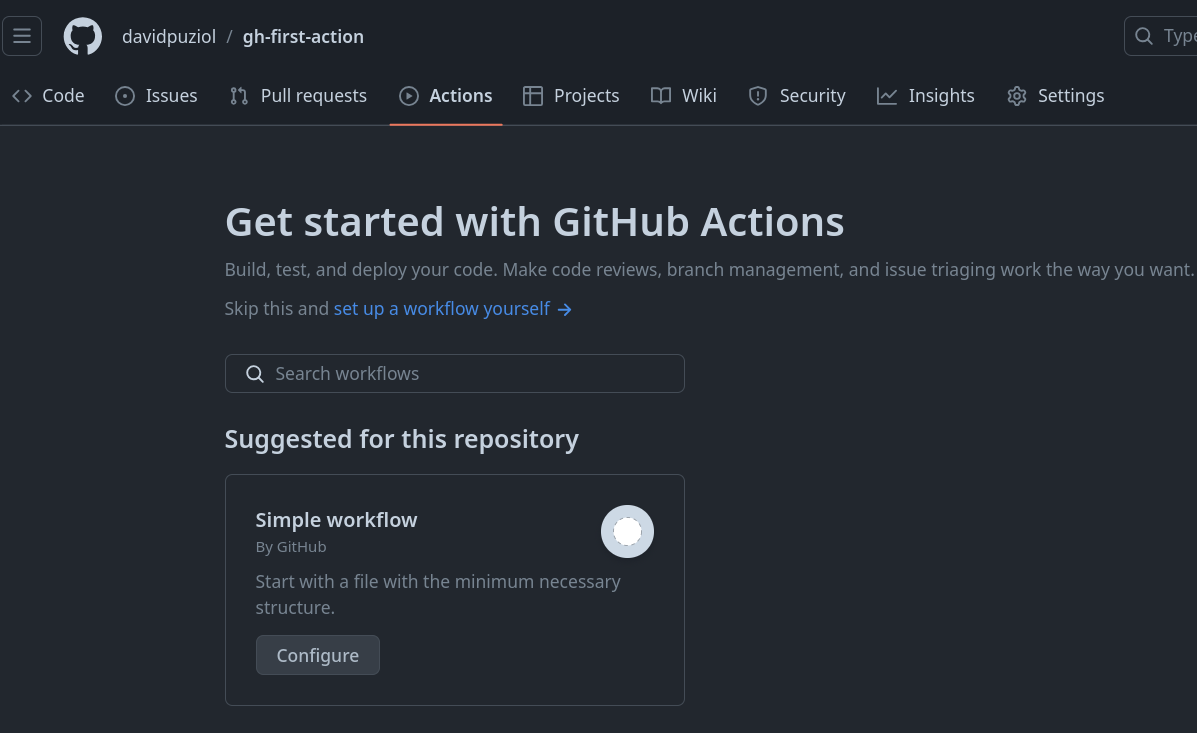
This is where you can start creating workflows. Choose the Simple Workflow and click Configure. We could also start with several other templates for specific tasks. Take a look at what's available.
We can edit the following YAML via browser. Give this workflow a name like, for example, first-action. Important detail: Git usually uses the .yml extension instead of .yaml.

Observe where it will be stored in your repository as mentioned earlier.
This is the initial example, but let's edit it to learn during the process.
# This is a basic workflow to help you get started with Actions

name: CI

# Controls when the workflow will run
on:
  # Triggers the workflow on push or pull request events but only for the "main" branch
  push:
    branches: [ "main" ]
  pull_request:
    branches: [ "main" ]

  # Allows you to run this workflow manually from the Actions tab
  workflow_dispatch:

# A workflow run is made up of one or more jobs that can run sequentially or in parallel
jobs:
  # This workflow contains a single job called "build"
  build:
    # The type of runner that the job will run on
    runs-on: ubuntu-latest

    # Steps represent a sequence of tasks that will be executed as part of the job
    steps:
      # Checks-out your repository under $GITHUB_WORKSPACE, so your job can access it
      - uses: actions/checkout@v4

      # Runs a single command using the runners shell
      - name: Run a one-line script
        run: echo Hello, world!

      # Runs a set of commands using the runners shell
      - name: Run a multi-line script
        run: |
          echo Add other actions to build,
          echo test, and deploy your project.
It's necessary to understand indentation in YAML. If needed, see how to work with YAML files.
Consult the documentation for the workflow_dispatch event.
The runner types documentation shows the list of environments supported by GitHub Actions.
Edit to this:
# Name of this workflow
name: First Workflow

# Defines when the workflow will run - on which events it will be triggered
on: workflow_dispatch # This event defines that the workflow will need to be triggered manually

# Here is the jobs block
jobs: # always plural
  # This block defines the first job and its name
  first-job:
    # Defines which environment will be used to execute the steps of this job
    runs-on: ubuntu-latest

    # Our list of steps
    steps:

      - name: First Step
        # First step command
        run: echo Hello, world!

      # To define a sequence of commands, use the syntax below
      - name: Second Step
        run: |
          cat /etc/os-release
          echo "\n ### Done - Bye ###"
When you save, you'll see it will make a commit to the repository adding this file.
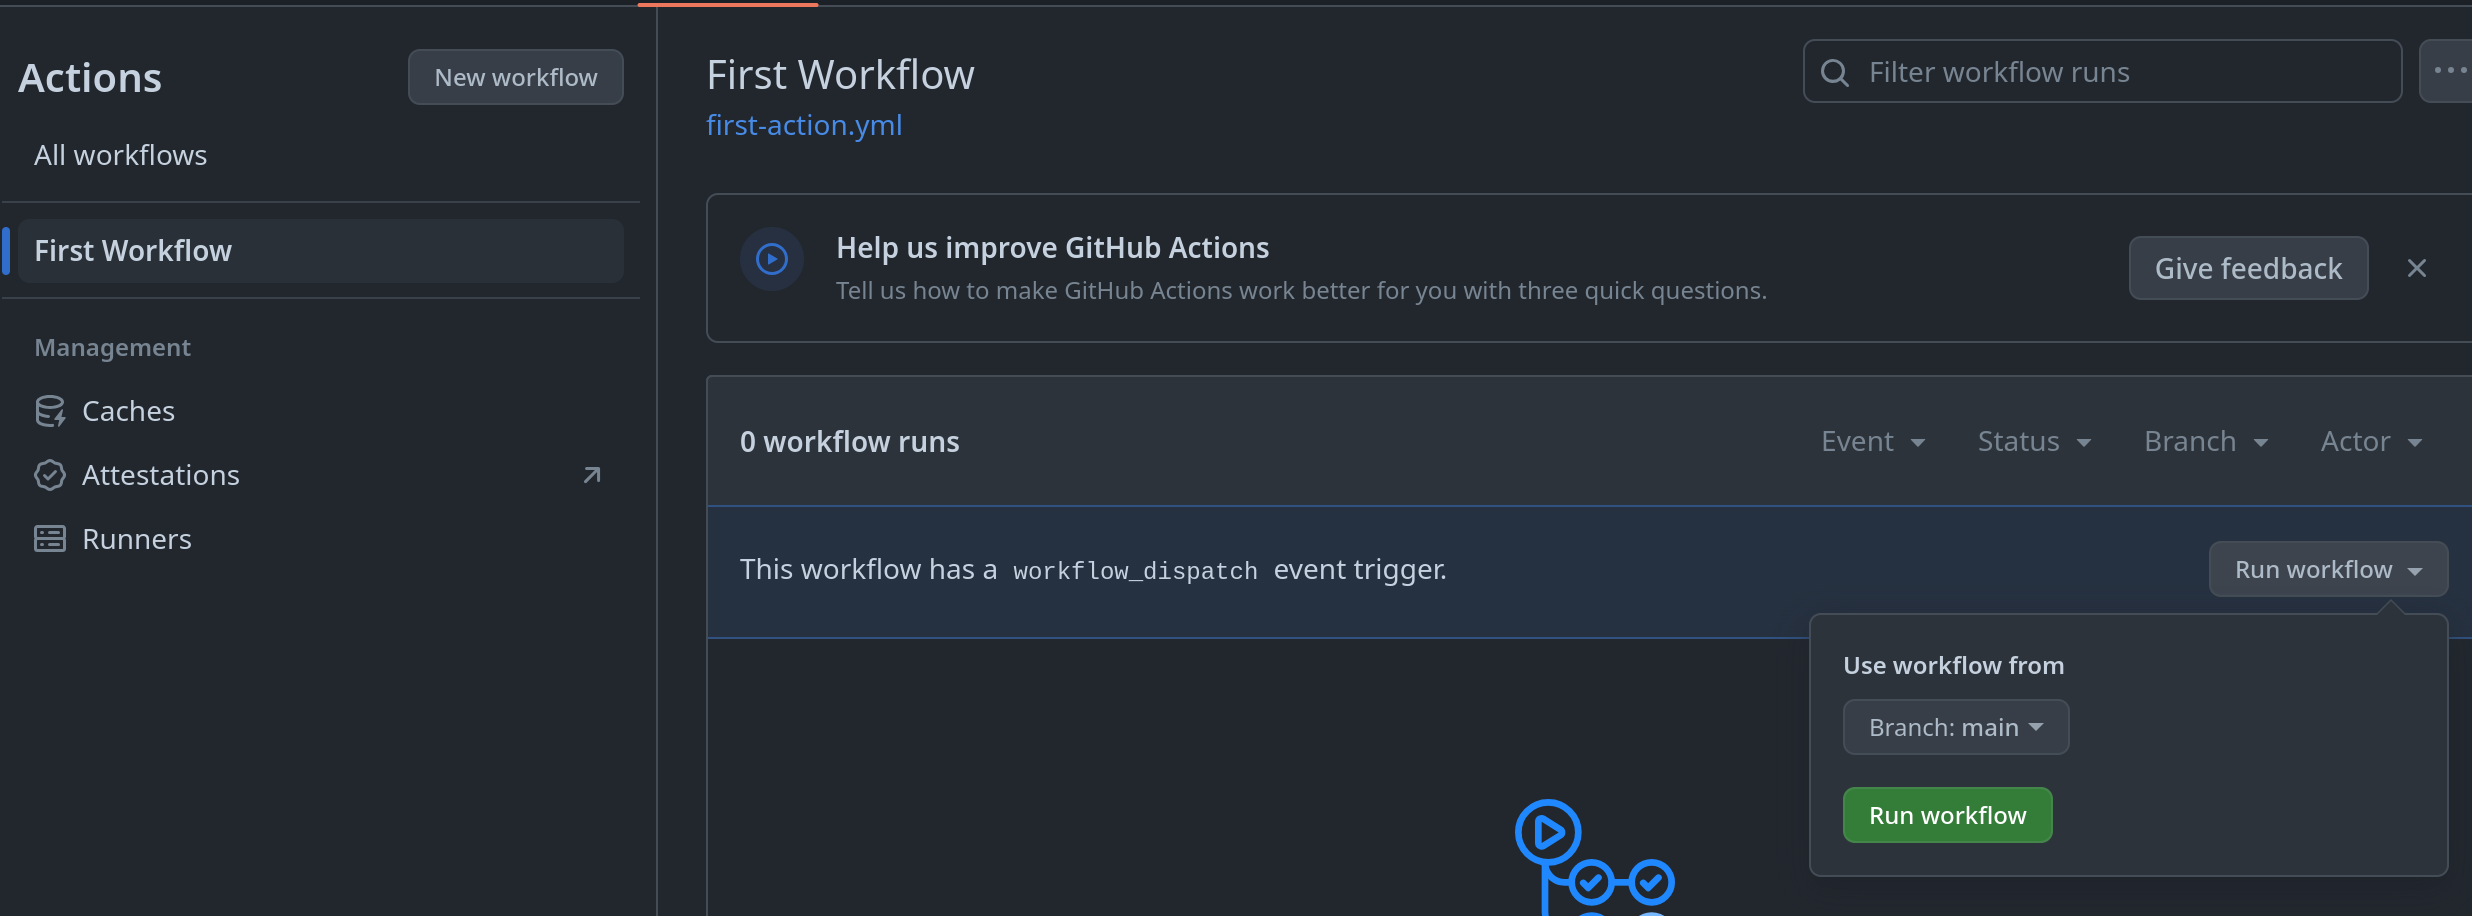
Now go to the Actions tab and run this workflow. Select the workflow and click Run Workflow.
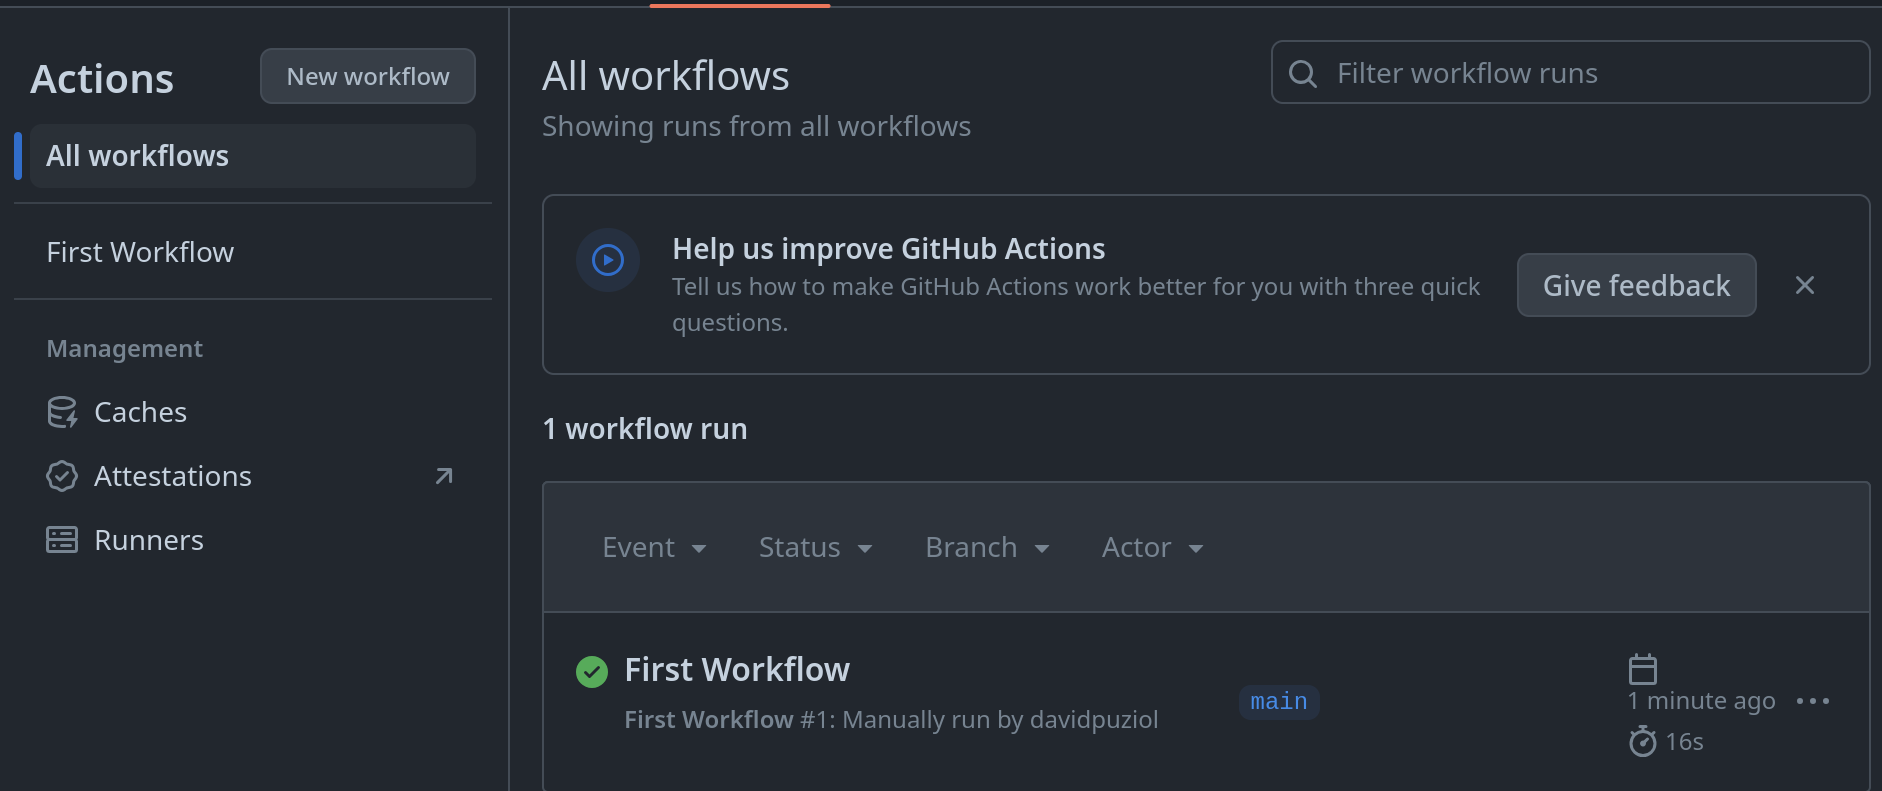
Return to the Actions tab and you'll see it was executed successfully, showing who ran the workflow.
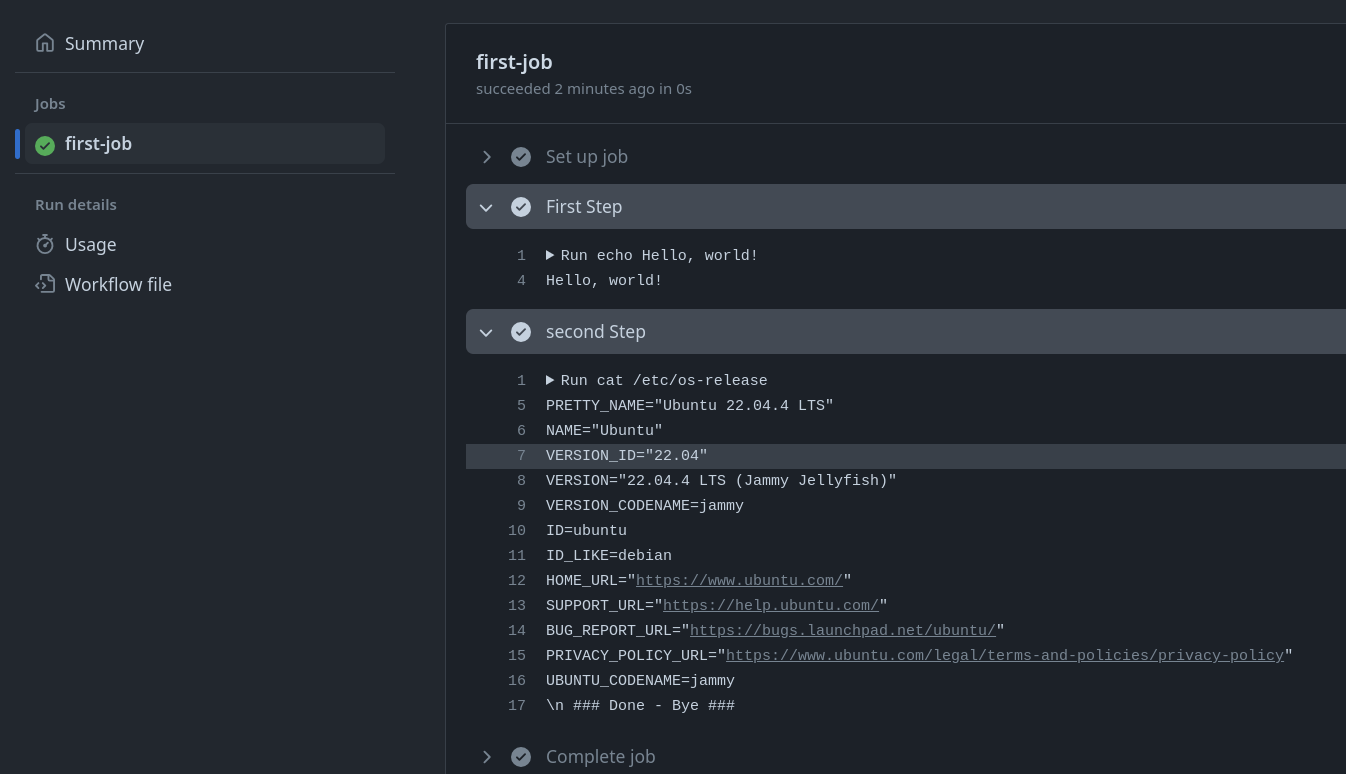
Click on the workflow and see the execution and log of the first and second step. It shows the command and console output separately, line by line.
"Set up job" and "Complete job" will always be executed, bringing relevant information about the environment and, at the end, about cleanup.
Now let's clone the repository and start creating our workflows using VS Code instead of working in the browser.
For VS Code, there's an extension that will greatly help with auto-completion of YAML files.
